
How to resize photos on iPhone without cropping
Scale a photo in Shortcuts when the shape can stay. Crop in Photos only if the edges can go. Extend the canvas when the subject has to remain whole.
 FayOct 7, 2026
Start with the job, not the crop button
On an iPhone, resizing a photo without cropping usually means one of two results. Keep the current shape and make the file smaller, or change the shape without cutting the subject off.
If the picture should keep its shape, scale it. Width and height stay in proportion, so nothing is cut off. A 4:3 photo remains 4:3. The Photos crop tool does not do this. Dragging its frame removes whatever falls outside the rectangle.
If the picture has to fit a new shape, such as a square, a 9:16 story, or a wide header, Photos still does that by cropping. Unlocking the aspect ratio or picking a preset throws away the pixels outside the new frame. It does not add the missing sides.
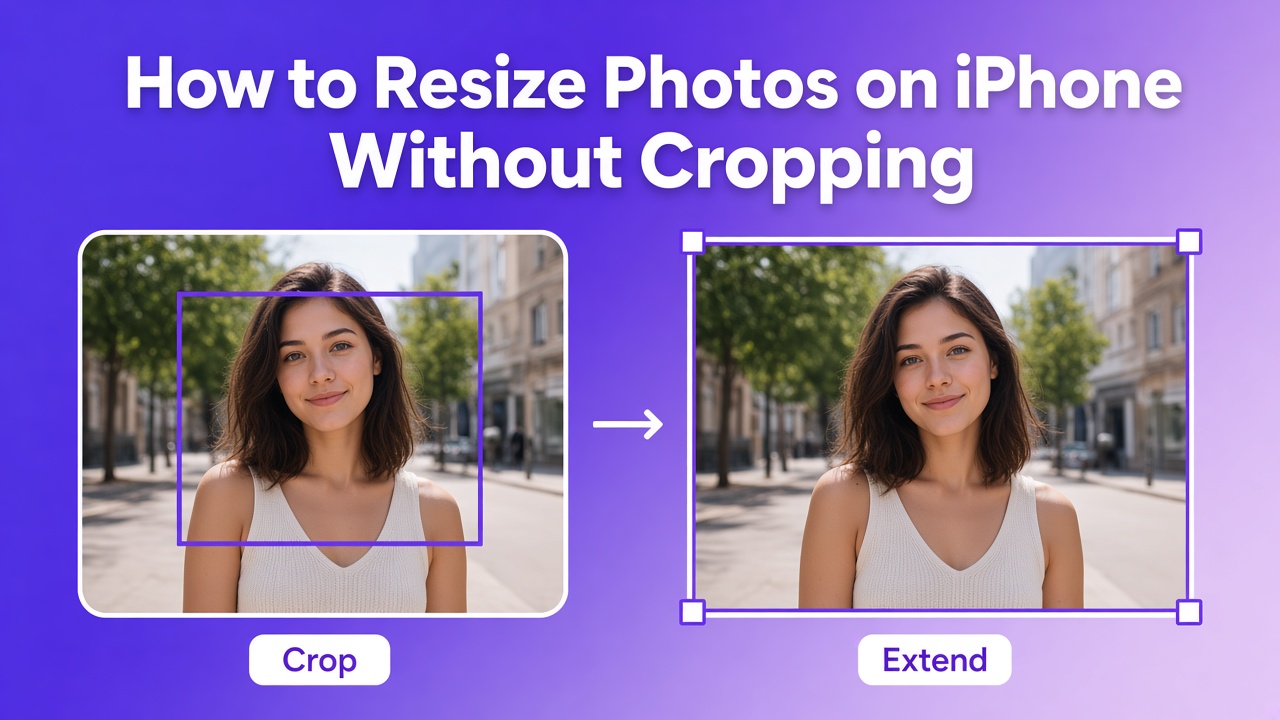
When the subject has to stay whole and the frame has to change, the extra area has to be generated outside the original photo. That is canvas extension. Uncroply does that in the browser. The first image does not require an account.
Pick the operation before you open an app
People use one word for three operations. They are not interchangeable.
| You need | What changes | What to use |
|---|---|---|
| Same shape, smaller file | Pixel count drops. The ratio stays. | Shortcuts, with one side proportional |
| A new ratio, and the edges can go | The frame cuts into the photo. | Photos crop tool |
| A new ratio, and the subject must stay | New pixels are added outside the original frame. | Canvas extension |
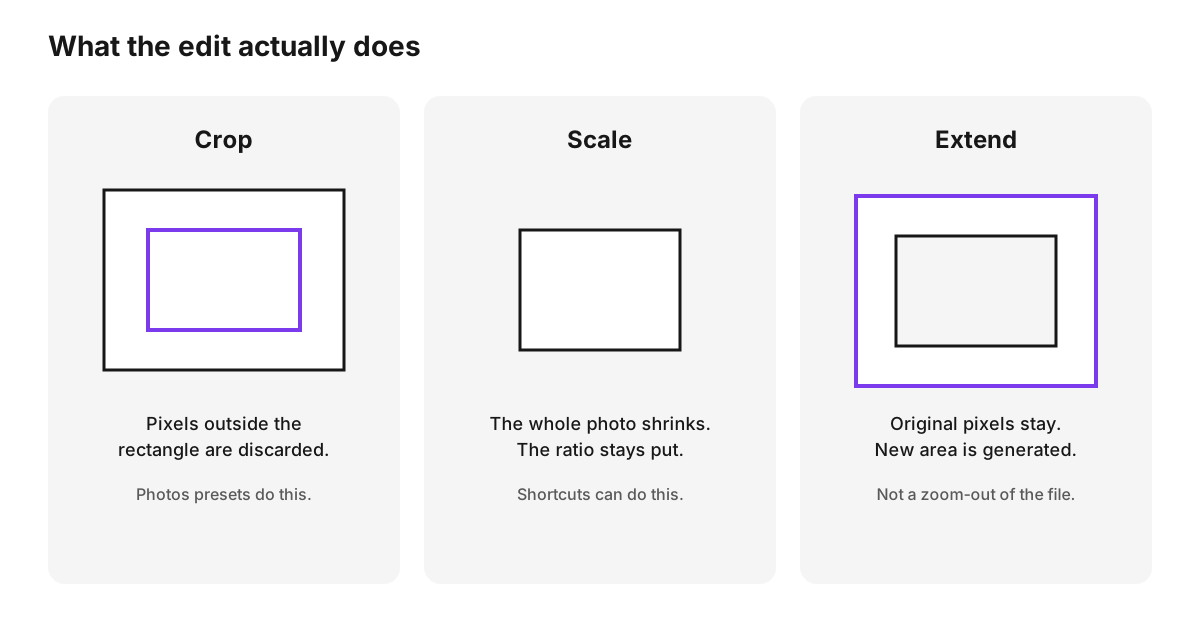
A fourth option, fitting the whole photo inside the new frame and filling the gaps with bars, also avoids a crop. The original pixels stay intact, but the bars are empty margin, not a continued scene. Use that when a plain background is acceptable. Use extension when the new area should look like more of the same place.
Scale the photo when the shape can stay
The Photos editor does not publish a control for "make this file 1200 pixels wide and keep every edge." Apple's iPhone guide says you can crop, rotate, flip, straighten, or adjust the size, and the steps it actually lists are crop steps. For a proportional shrink, current iPhone guides use the Shortcuts app and its Resize Image action.
The labels move between iOS versions, so treat this as the job, then match it to the buttons you see:
- Open Shortcuts and start a new shortcut.
- Add Resize Image.
- Set the image to the photo you will share in, often called Shortcut Input.
- Set a width, or a percentage, and leave the other dimension proportional. Do not type a height that belongs to a different ratio.
- Turn on Show in Share Sheet if you want it beside the other share actions.
- Open the photo in Photos, tap Share, and run the shortcut.
- Before you post the file, compare its width-to-height ratio with the original. The subject should still touch the same edges it touched before.
How-To Geek's Shortcuts walkthrough shows one current layout, including a width you can change and a height left on automatic. If both numbers are forced into a new shape, you may be stretching or cropping. That is no longer "resize without cropping."
This path is free because Shortcuts ships with the iPhone. It will not turn a 4:3 camera photo into a 9:16 story without a second operation.
Crop in Photos when the edges can go
Cropping is the right tool when the edges are spare background and the subject still fits the new frame. It is the wrong tool when a head, a product, or a line of text already sits on the border.
Apple's iPhone guide documents this flow:
- Open the photo in the Photos app.
- Tap Edit, then open the crop tool. The guide's icon names do not come through as text, so use the control that shows the crop rectangle.
- Drag a corner to choose what stays. While the ratio is locked, the crop keeps the photo's original shape. Pinching only zooms that crop.
- Tap the lock at the top right of the photo if you need a different shape, or choose a preset such as Square, Wallpaper, 9:16, or 5:7.
- Tap Done. Cancel, then Discard Changes, if the crop cut something you still need.
With iCloud Photos, that edit syncs to your other devices. Apple also documents Revert: open the photo, tap Edit, then Revert.
A 9:16 preset on a landscape photo is still a crop. The phone is not recovering the scene above and below the original frame. It is choosing a tall window inside the picture you already took. If the subject fills the width, the preset will cut it.
Extend the canvas when the subject has to stay
Extension keeps the original pixels and asks a model to paint the area outside them. The model uses the colors, textures, objects, and perspective along the border. It does not retrieve detail the camera never stored. A tight headshot cannot grow a full body. A sign cut in half will not reliably finish the word.
Extension is worth trying when:
- the background continues: sky, wall, table, street, or a simple studio sweep
- the subject is not glued to the edge you need to grow
- the ratio change is moderate, for example 4:3 toward 9:16 or 16:9, rather than a thin strip asked to become a banner
It fails more often when:
- type, logos, or labels cross the border
- a face, hand, or product edge is already cut off
- the pattern repeats, such as tile, brick, or a fence
- the perspective is strong and the new area has to continue a vanishing point
On a phone, you do this in the browser. You do not need the Photos crop tool, and you should not run a 9:16 preset first. Cropping first deletes the very edges the model would have used as context.
If the photo is horizontal and the slot is a vertical story, use the page to turn a horizontal photo vertical without cropping. Pick the target ratio, look at the new bands above and below, and export only if the subject and the background still agree.
Leave a little of the original background in frame when you can. A subject that already touches the top and bottom gives the model no clean edge to continue.
Check the new frame before you post it
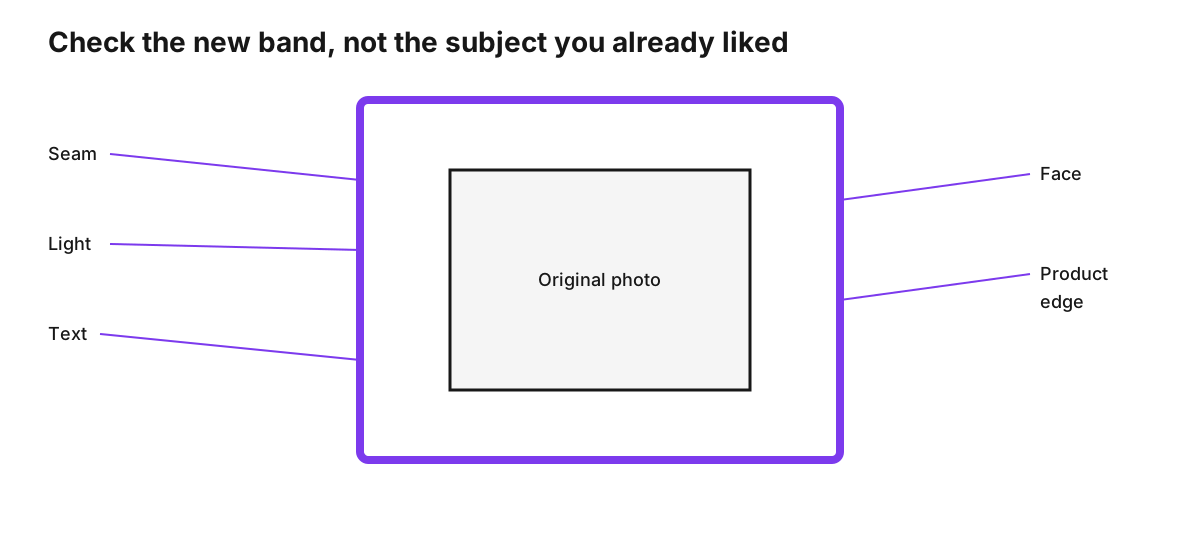
Look at the boundary between the old photo and the new pixels, not at the subject you already liked.
- Seam: a line, a repeated smear, or a sudden change in grain along the old edge
- Light: shadows and highlights that point a different way in the new area
- Text: letters that melted, duplicated, or changed spelling
- Face and hands: extra fingers, a shifted ear, or skin that does not match
- Product edge: a bottle, shoe, or package that gained a warped outline
If the extension is wrong, do not keep stacking edits on top of it. Crop back to the original, or ask for a smaller ratio change. A portrait that has to become a very wide banner is mostly invented picture. Scaling it, or fitting it with bars, may be the honest result.
The same check applies to a Shortcuts export. Confirm you scaled, and that you did not stretch the photo to force a new ratio.
What you can do without paying first
You can generate one extended image on Uncroply without an account. That try does not spend credits. It is tied to the browser, and another try from the same network during the same month is blocked too. The next try opens at the start of the following calendar month, China time (UTC+8). If a generation is already running, wait for it to finish before you start another.
Creating an account currently adds 10 credits. That is the number shown when the free try is used up. The standard model in the editor, GPT Image 2, costs 8 credits at Auto or 1K, so those 10 credits cover one more image at that setting. They do not cover a 2K export on that model (13 credits) or a 4K export (21 credits). Other models can cost more than 10 credits as well.
If the photo is already vertical and the slot is wide, use the page to convert a portrait photo to landscape without cutting the subject. Check the new area on the sides the same way you would check a story crop you refused to make.
Frequently Asked Questions
Can the iPhone Photos app resize a photo without cropping it?
The published Photos steps crop, rotate, flip, or straighten. A locked crop keeps the original ratio while removing whatever falls outside the rectangle. It does not scale the whole file down and keep every edge. Use Shortcuts for that.
Does the Shortcuts Resize Image action change the aspect ratio?
Not if one side stays proportional. The photo gets a new pixel count and the same shape. Forcing both width and height into a different ratio is a separate edit. Check the output before you post it.
How do I make a 9:16 story without cutting off people?
Do not start with the Photos 9:16 preset if the person fills a landscape frame. That preset crops. Extend the canvas above and below, then check faces, hands, and the seam. If the person is already cut off by the original photo, extension will be guessing.
Will an extended canvas restore something the camera never captured?
No. It generates a plausible continuation from the border. It cannot recover a clean version of a sign, a face, or a product that was never in the file.
Can I resize one photo for a new ratio without creating an account?
Yes. Uncroply allows one guest generation, then the free try is used until the next calendar month. An account adds 10 credits, which covers one more GPT Image 2 image at Auto or 1K (8 credits), not a 2K or 4K export.
Why does text or a face look wrong after the frame changes?
Those details are hard to continue. Text has to stay legible, and a face has a structure the model often breaks when it sits on the edge. Crop back to the original, or keep the original ratio and scale it instead.